 加载中…
加载中…汽车海报,设计沙尘暴主题汽车商业海报
标签:
psps经典案例ps图文教程 |
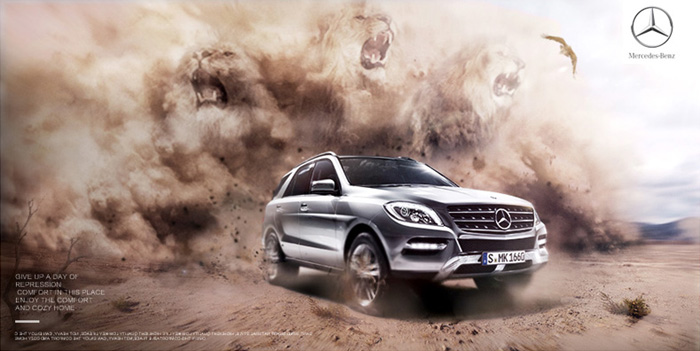
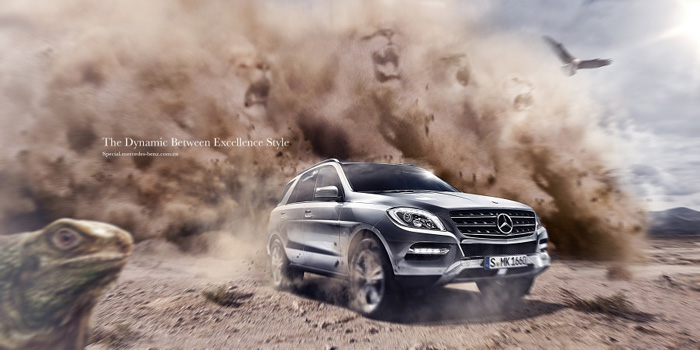
这个沙尘暴汽车主题海报十分有视觉冲击力,教程主要学习点是沙尘暴的合成,和狮子头的处理,有兴趣的一起练习一下,做完交作业。
最终效果
http://pic.16xx8.com/allimg/160112/21363K2S-0.jpg
http://pic.16xx8.com/allimg/160112/21363K339-1.jpg
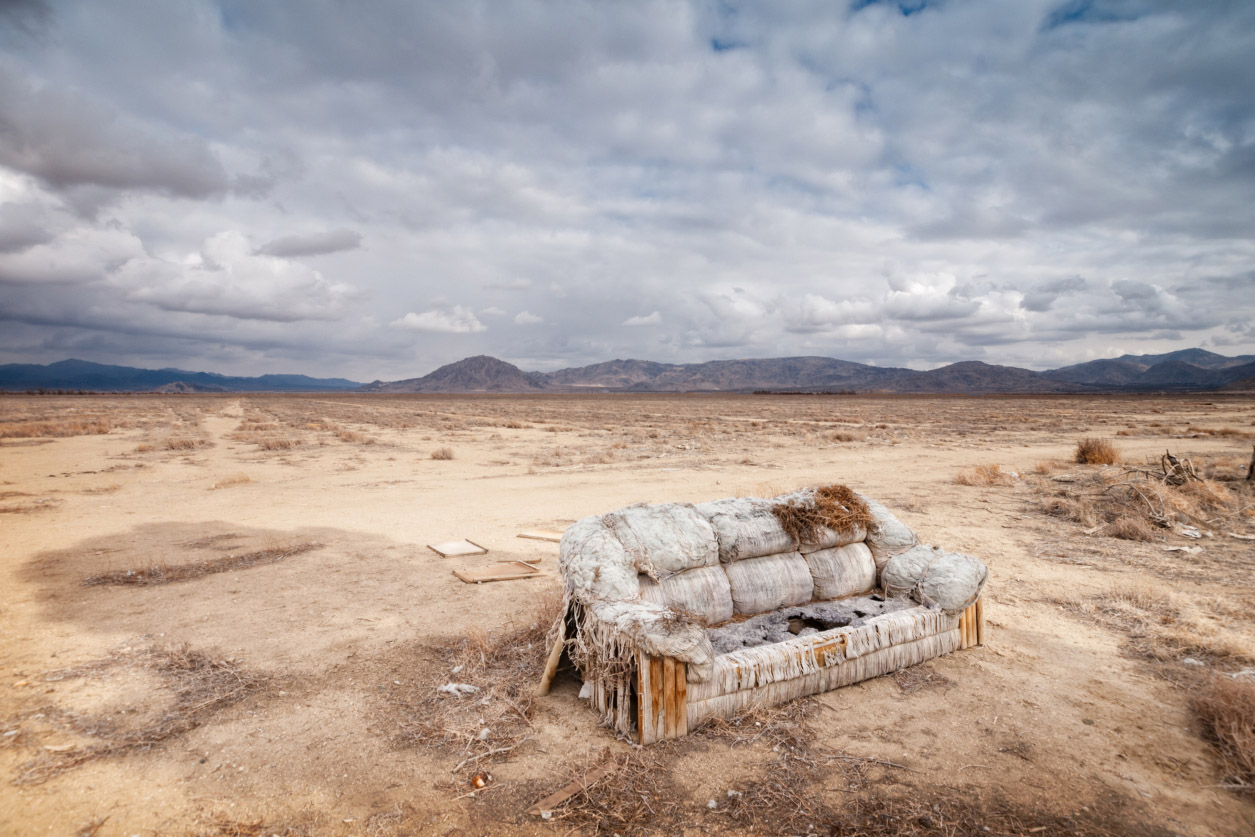
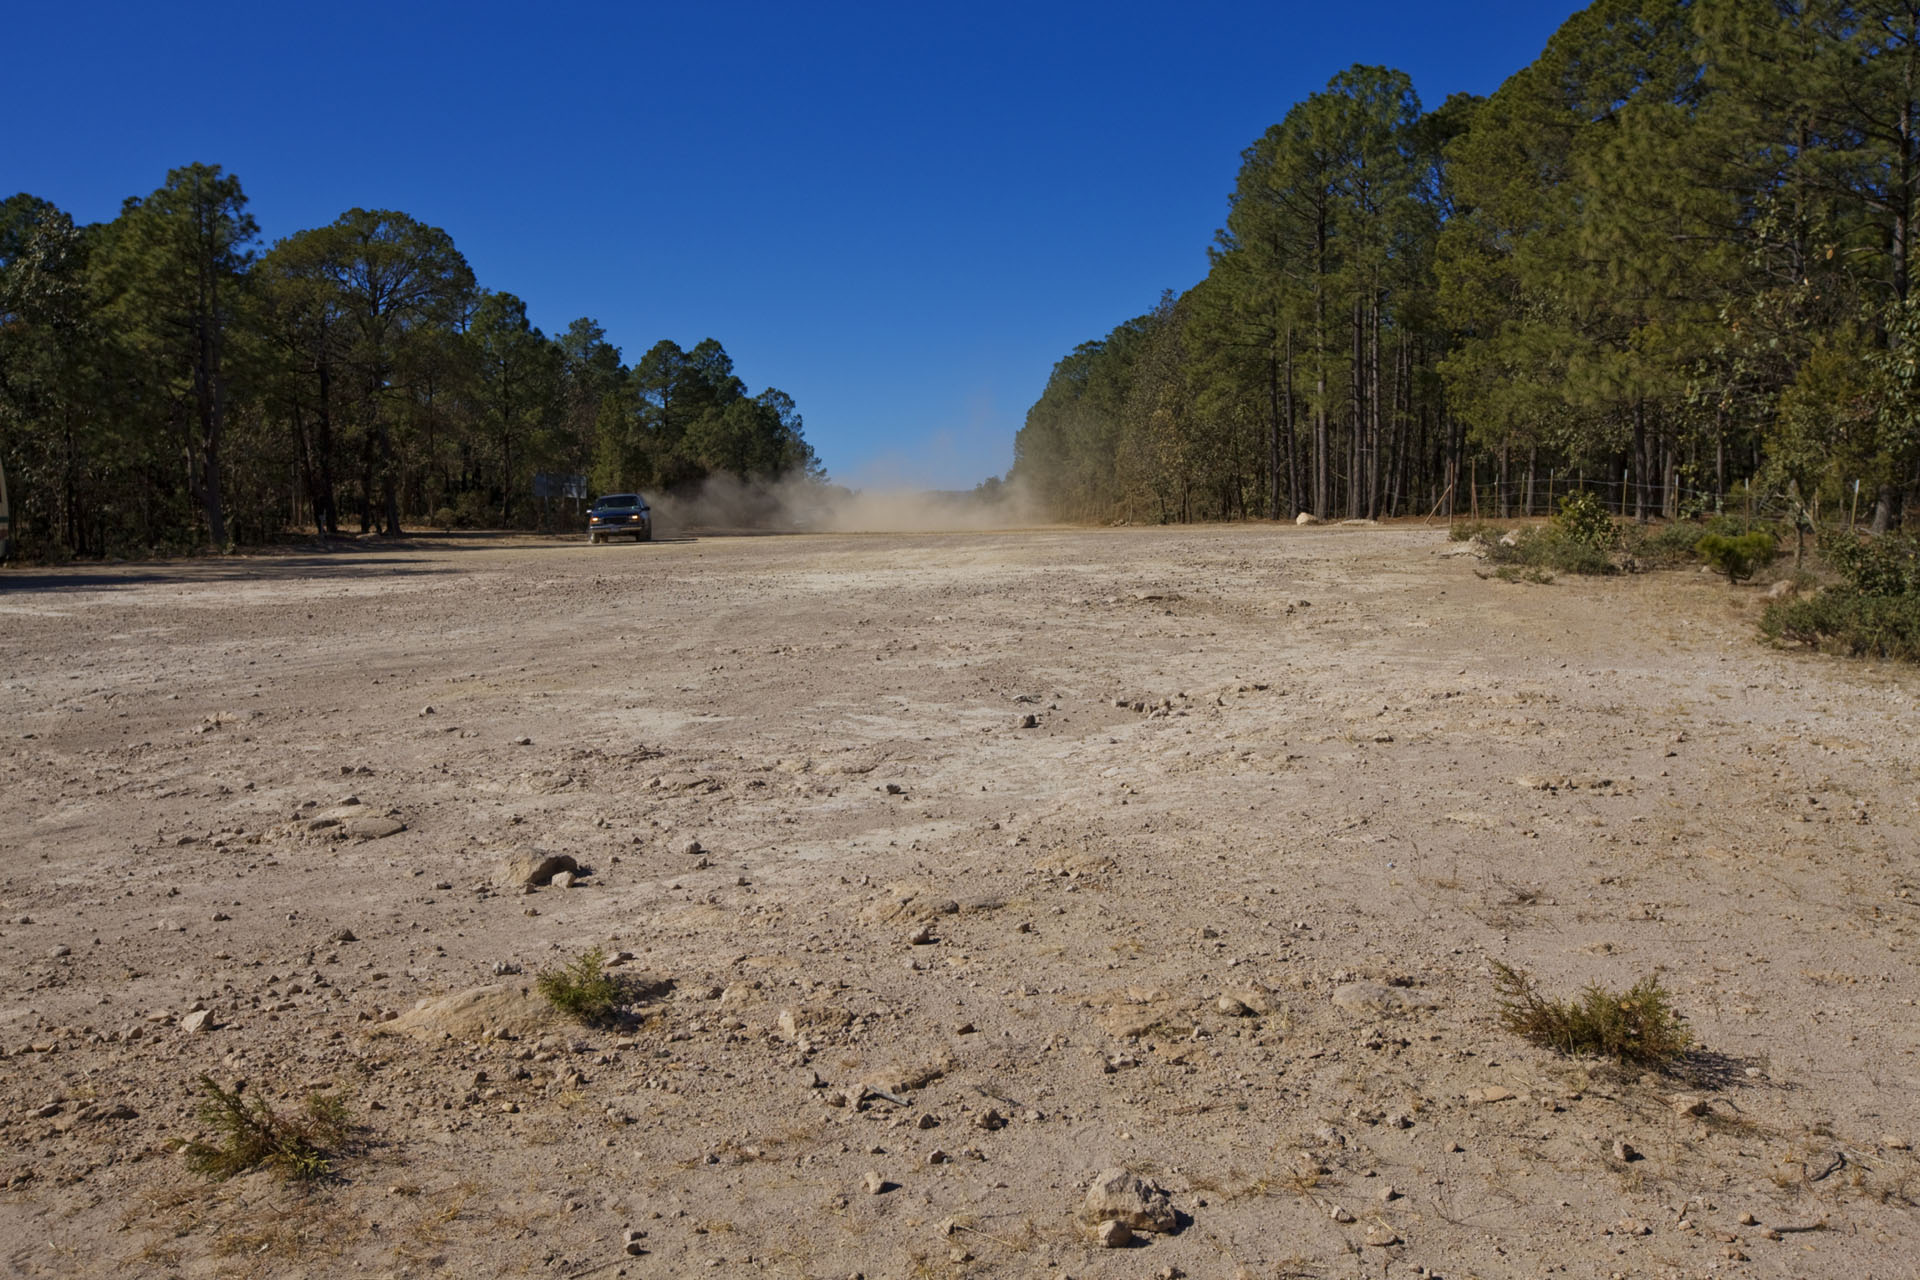
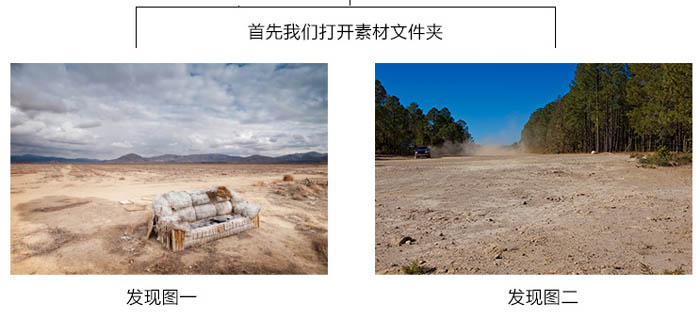
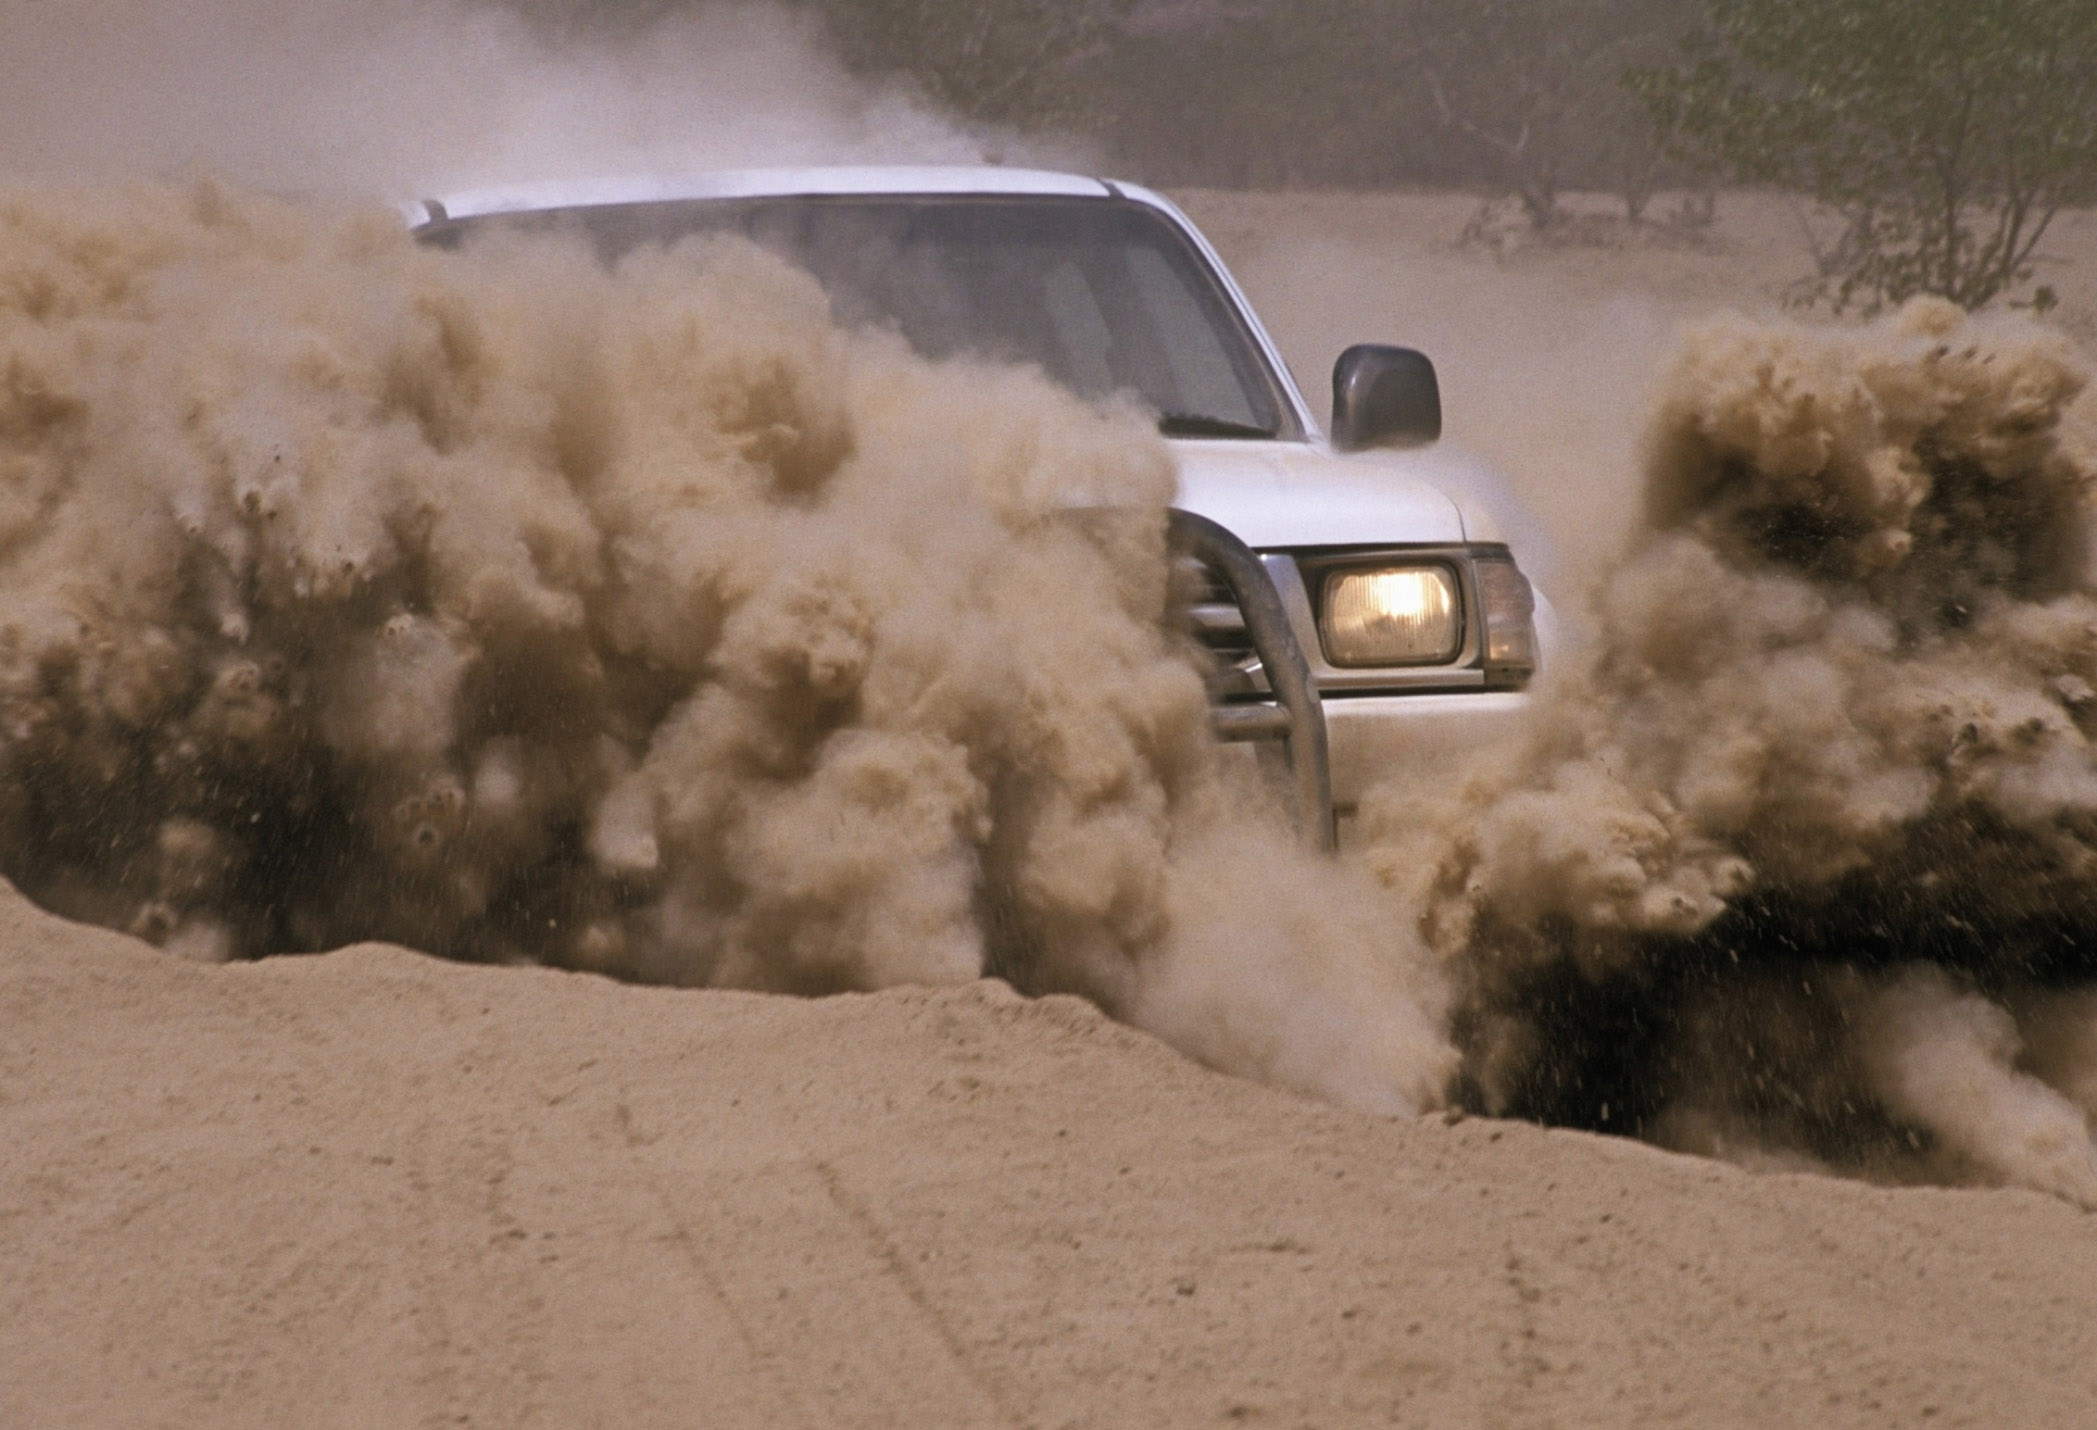
1、首先打开下图所示的两张素材。
http://pic.16xx8.com/allimg/160112/21363M5P-2.jpg
http://pic.16xx8.com/allimg/160112/21363J3H-3.jpg
http://pic.16xx8.com/allimg/160112/21363HH3-4.jpg
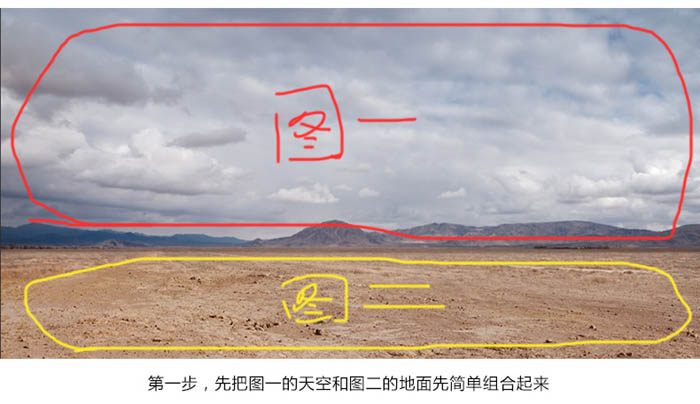
先把图一的天空和图二的地面简单组合起来。
http://pic.16xx8.com/allimg/160112/21363MK9-5.jpg
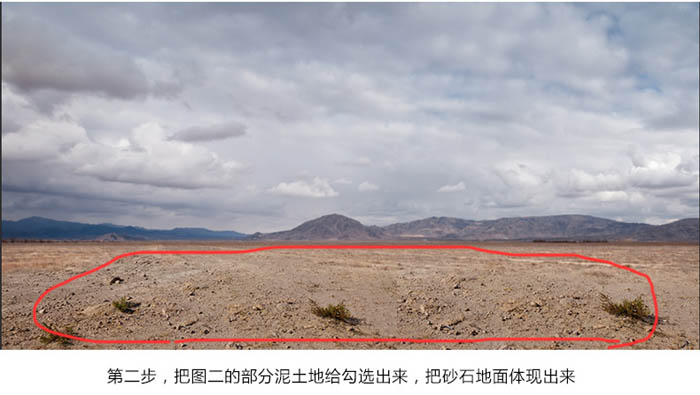
2、把图二的部分泥土地给勾选出来,把砂石地面体现出来。
http://pic.16xx8.com/allimg/160112/21363G2Y-6.jpg
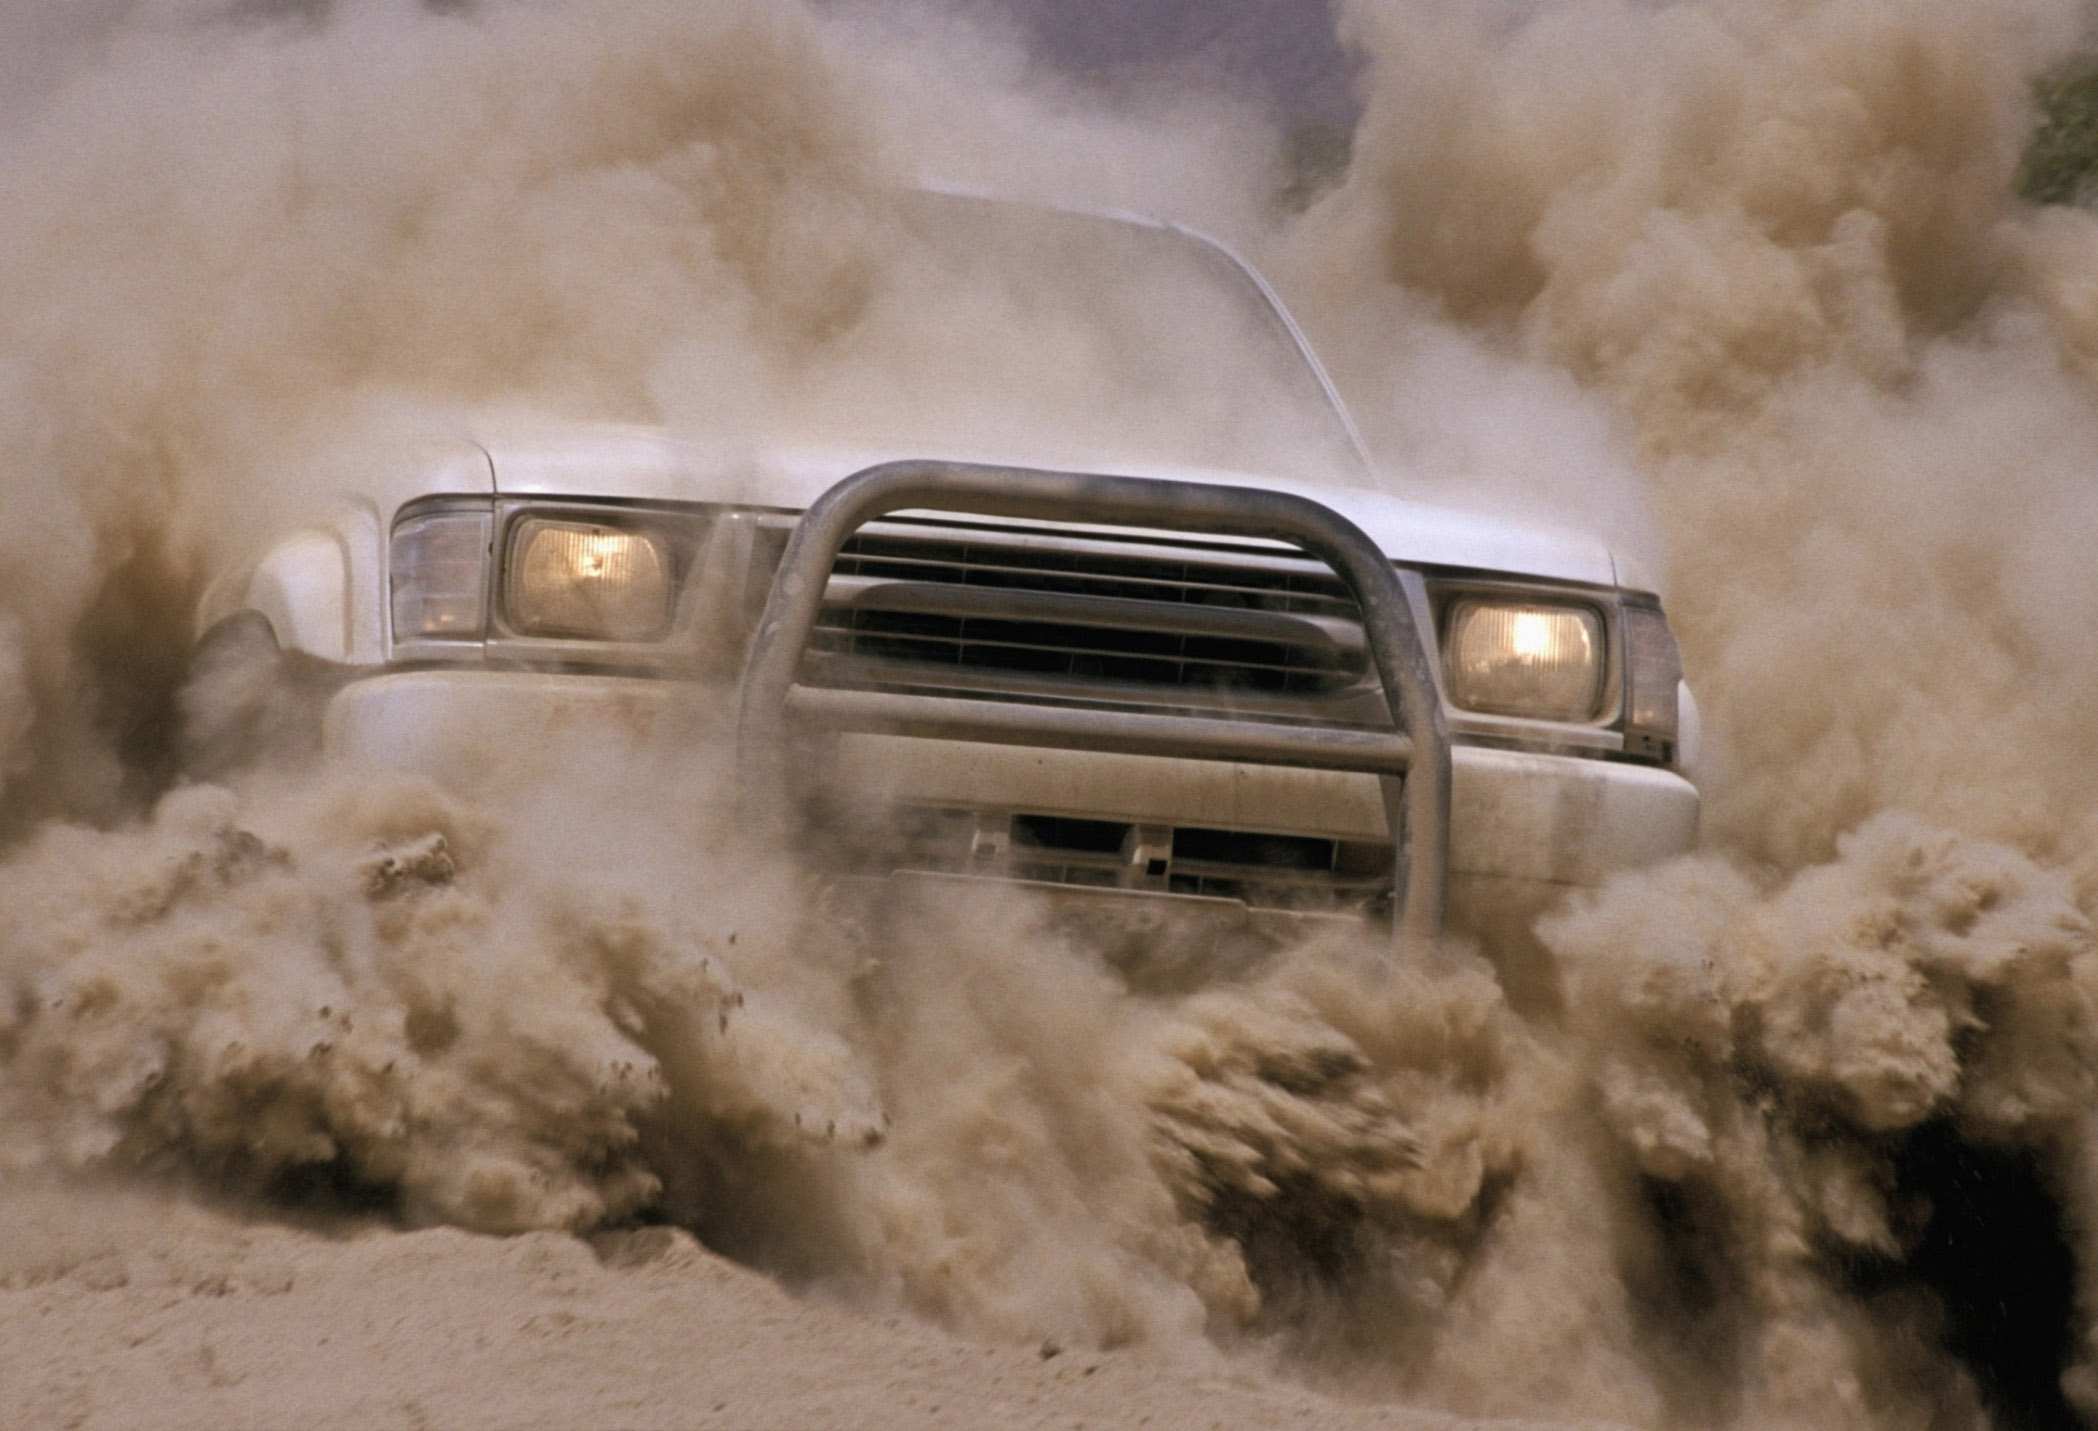
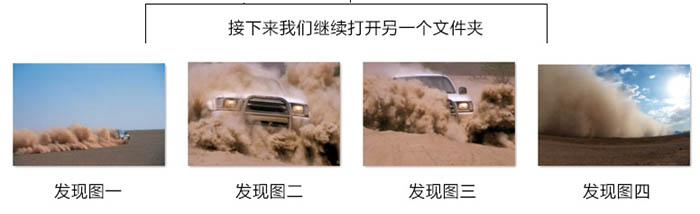
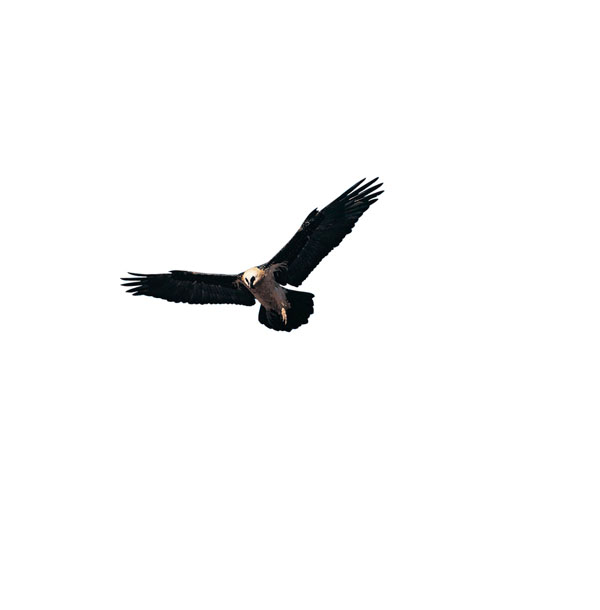
接下来打开下图所示的素材。
http://pic.16xx8.com/allimg/160112/21363GH6-7.jpg
http://pic.16xx8.com/allimg/160112/21363I0X-8.jpg
http://pic.16xx8.com/allimg/160112/21363IQ3-9.jpg
http://pic.16xx8.com/allimg/160112/21363K417-10.jpg
http://pic.16xx8.com/allimg/160112/21363I145-11.jpg
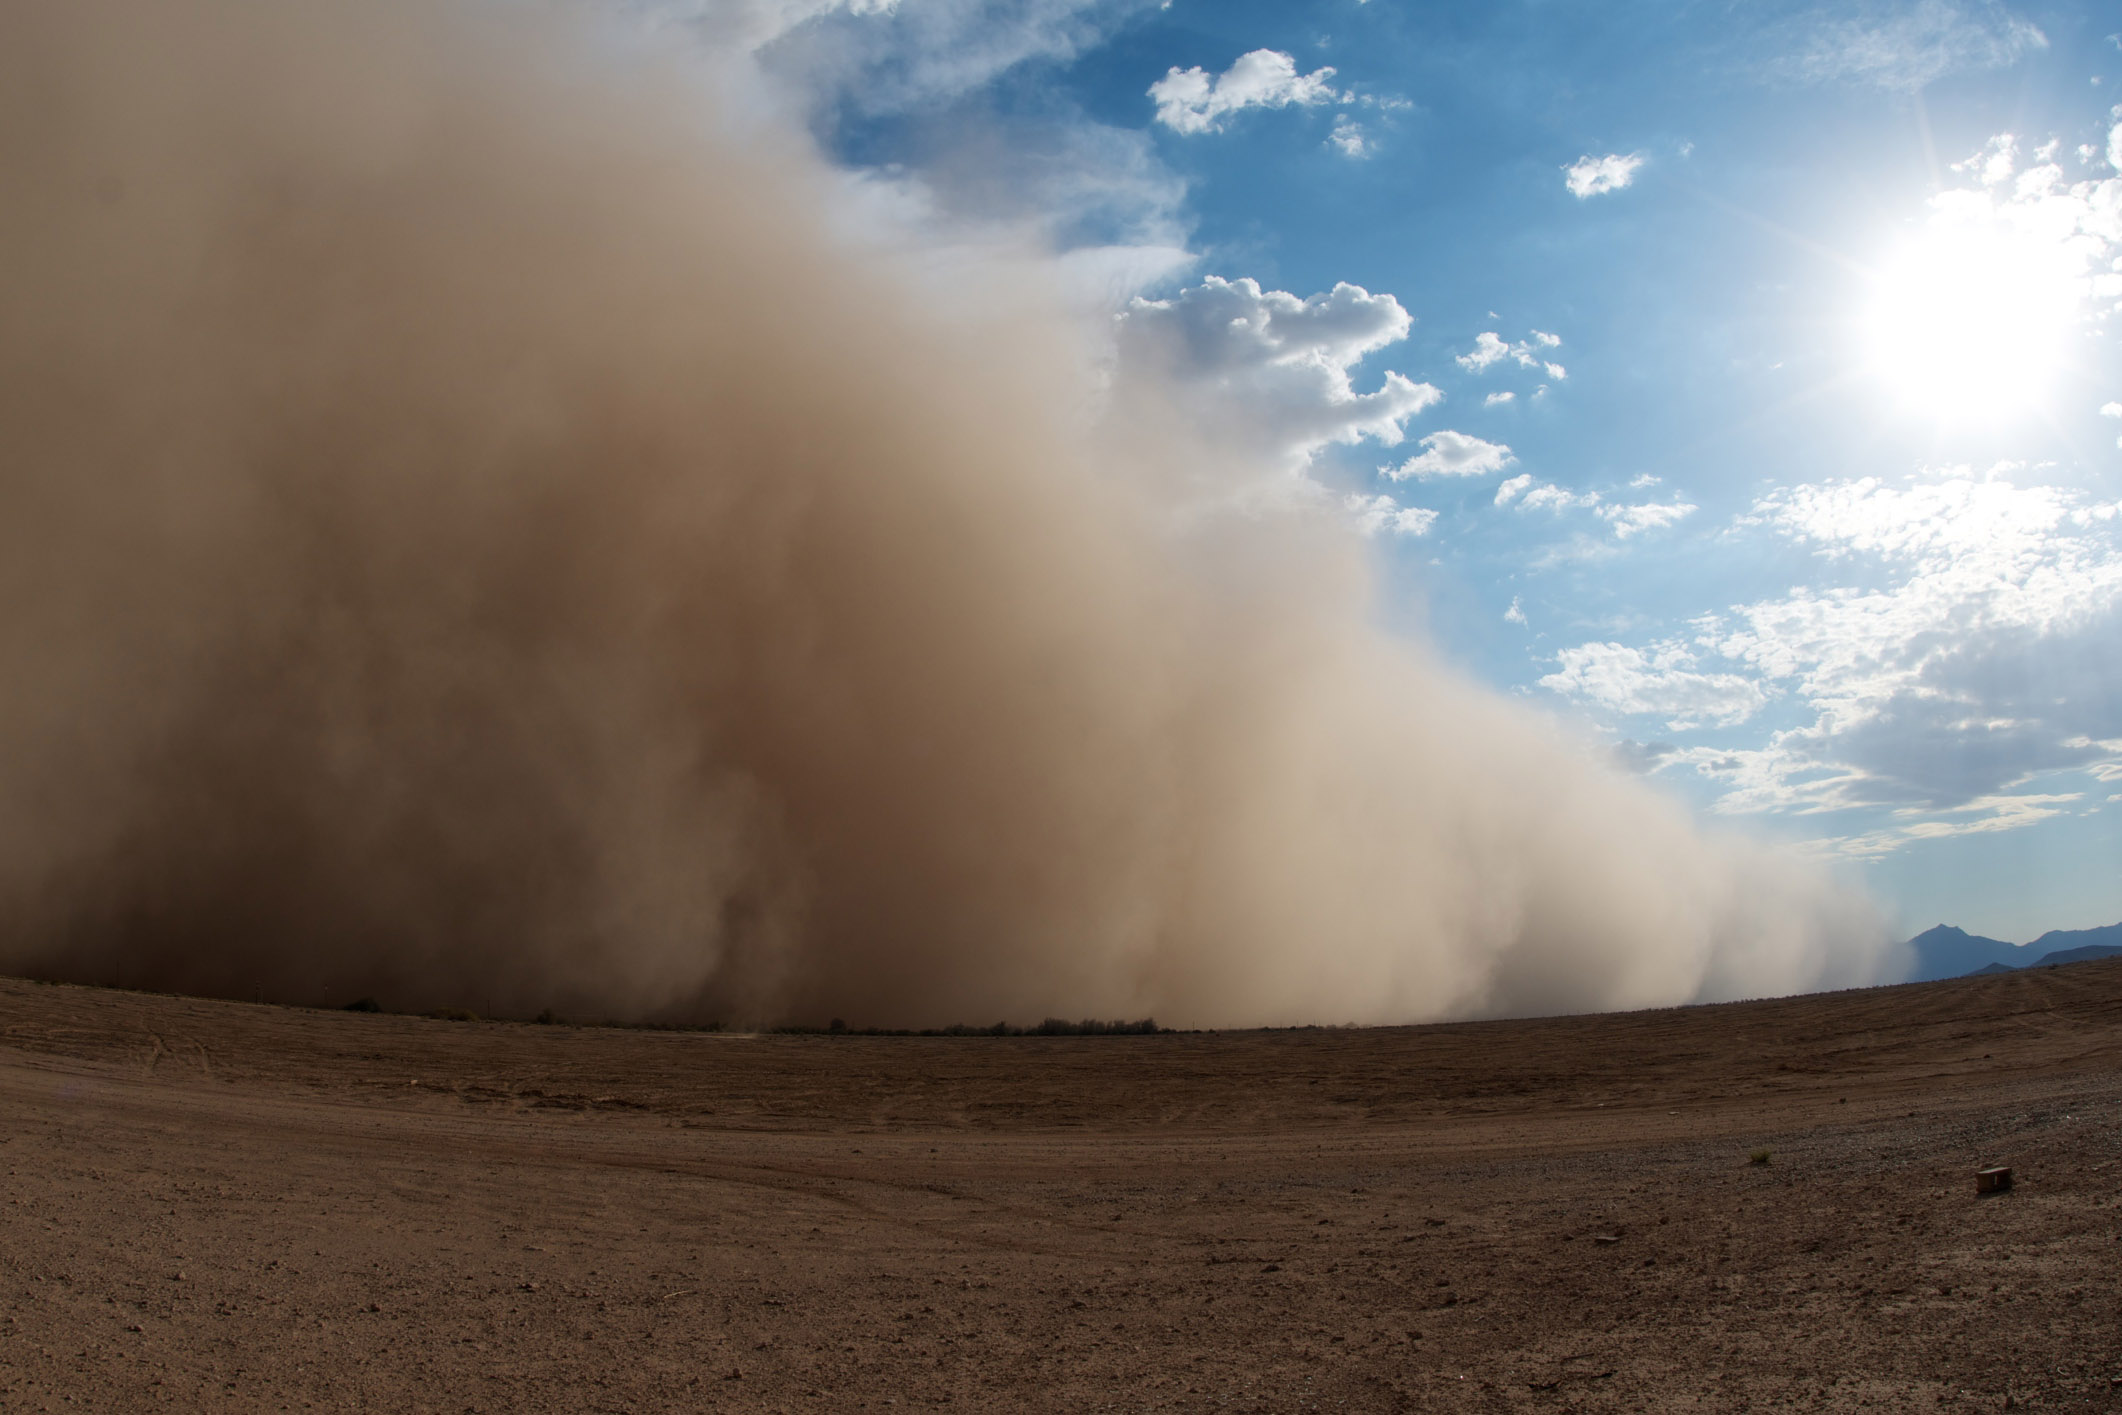
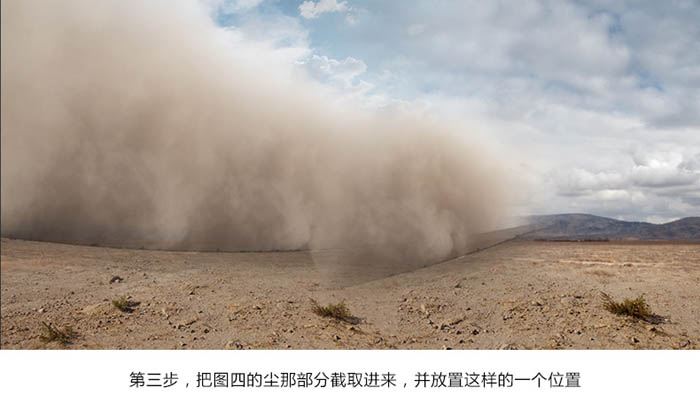
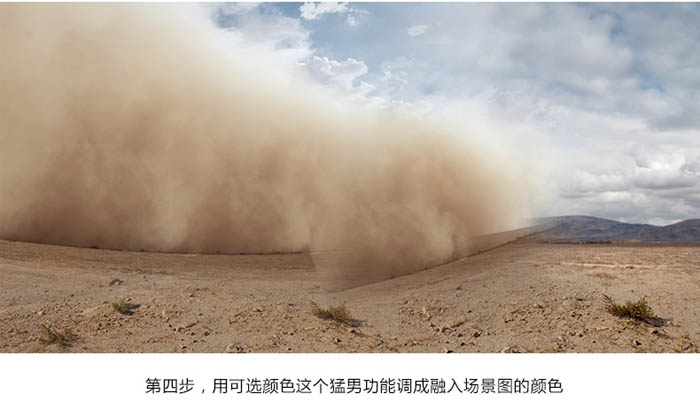
3、把图四的尘那部分截取进来,并放置这样的一个位置。
http://pic.16xx8.com/allimg/160112/21363I040-12.jpg
4、用可选颜色调成融入场景图的颜色。
http://pic.16xx8.com/allimg/160112/21363H922-13.jpg
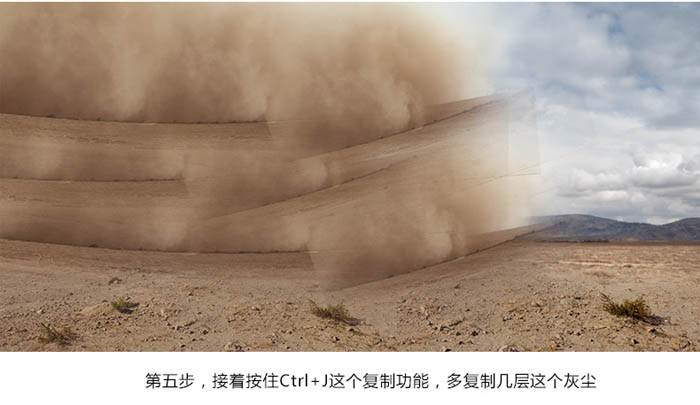
5、接着按住Ctrl + J 这个复制功能,多复制几层这个灰尘。
http://pic.16xx8.com/allimg/160112/21363I208-14.jpg
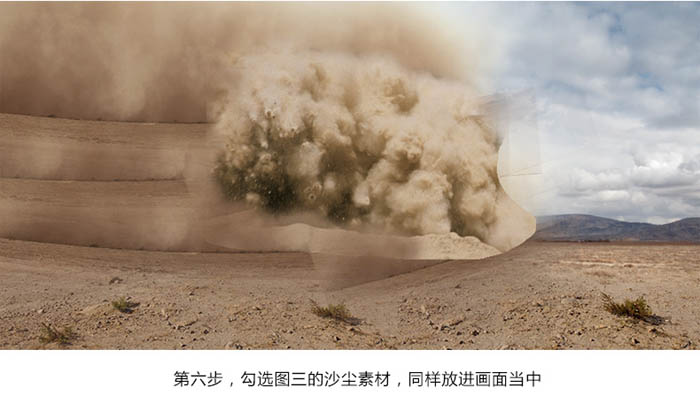
6、勾选图三的沙尘素材,同样放进画面当中。
http://pic.16xx8.com/allimg/160112/21363M318-15.jpg
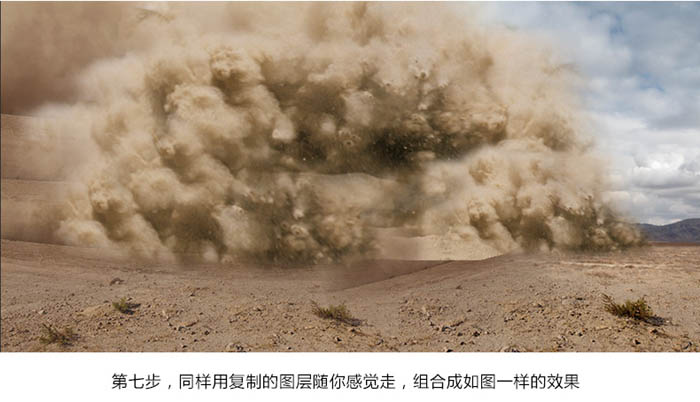
7、同样用复制的图层随你感觉走,组合成如图一样的效果。
http://pic.16xx8.com/allimg/160112/21363G535-16.jpg
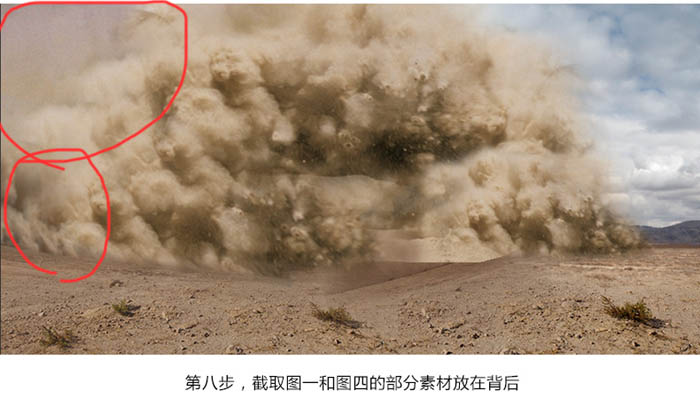
8、截取图一和图四的部分素材放在背后。
http://pic.16xx8.com/allimg/160112/21363GU7-17.jpg
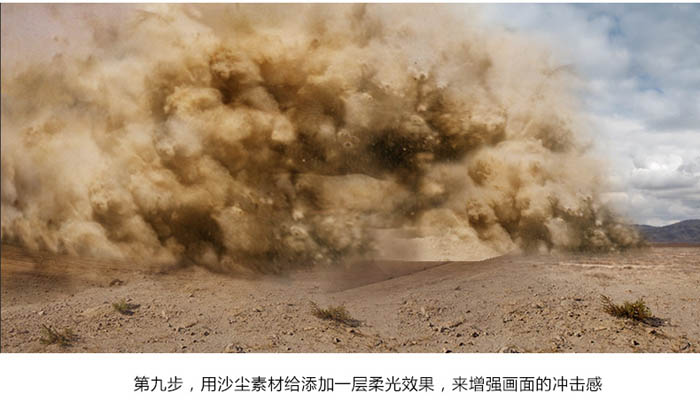
9、用沙尘素材给添加一层柔光效果,来增强画面的冲击感。
http://pic.16xx8.com/allimg/160112/21363I318-18.jpg
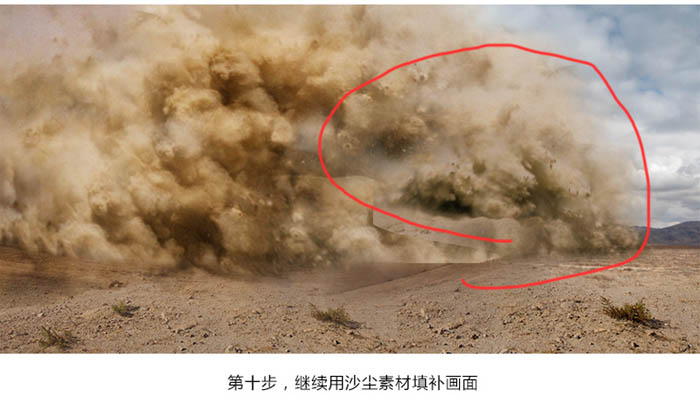
10、继续用沙尘素材填补画面。
http://pic.16xx8.com/allimg/160112/21363K0I-19.jpg
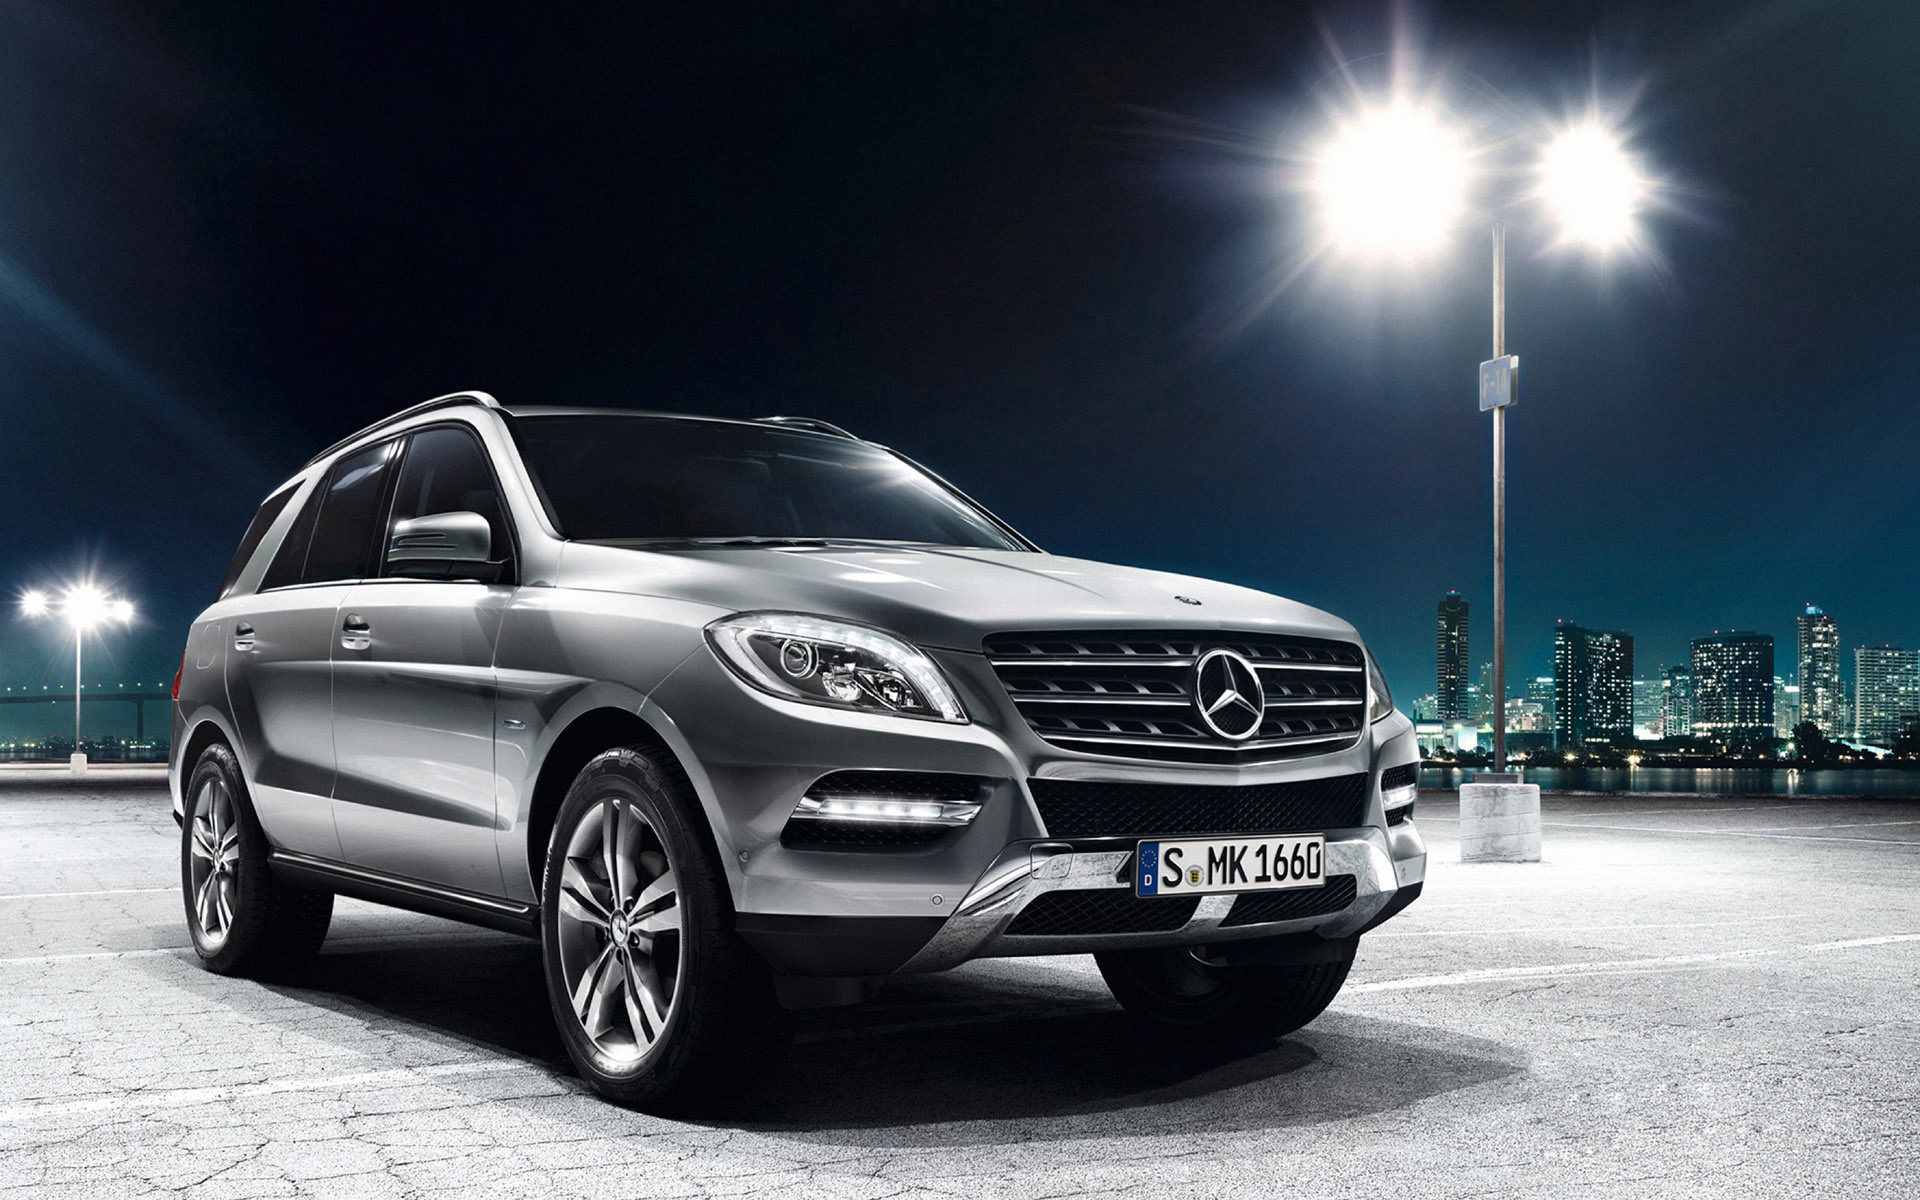
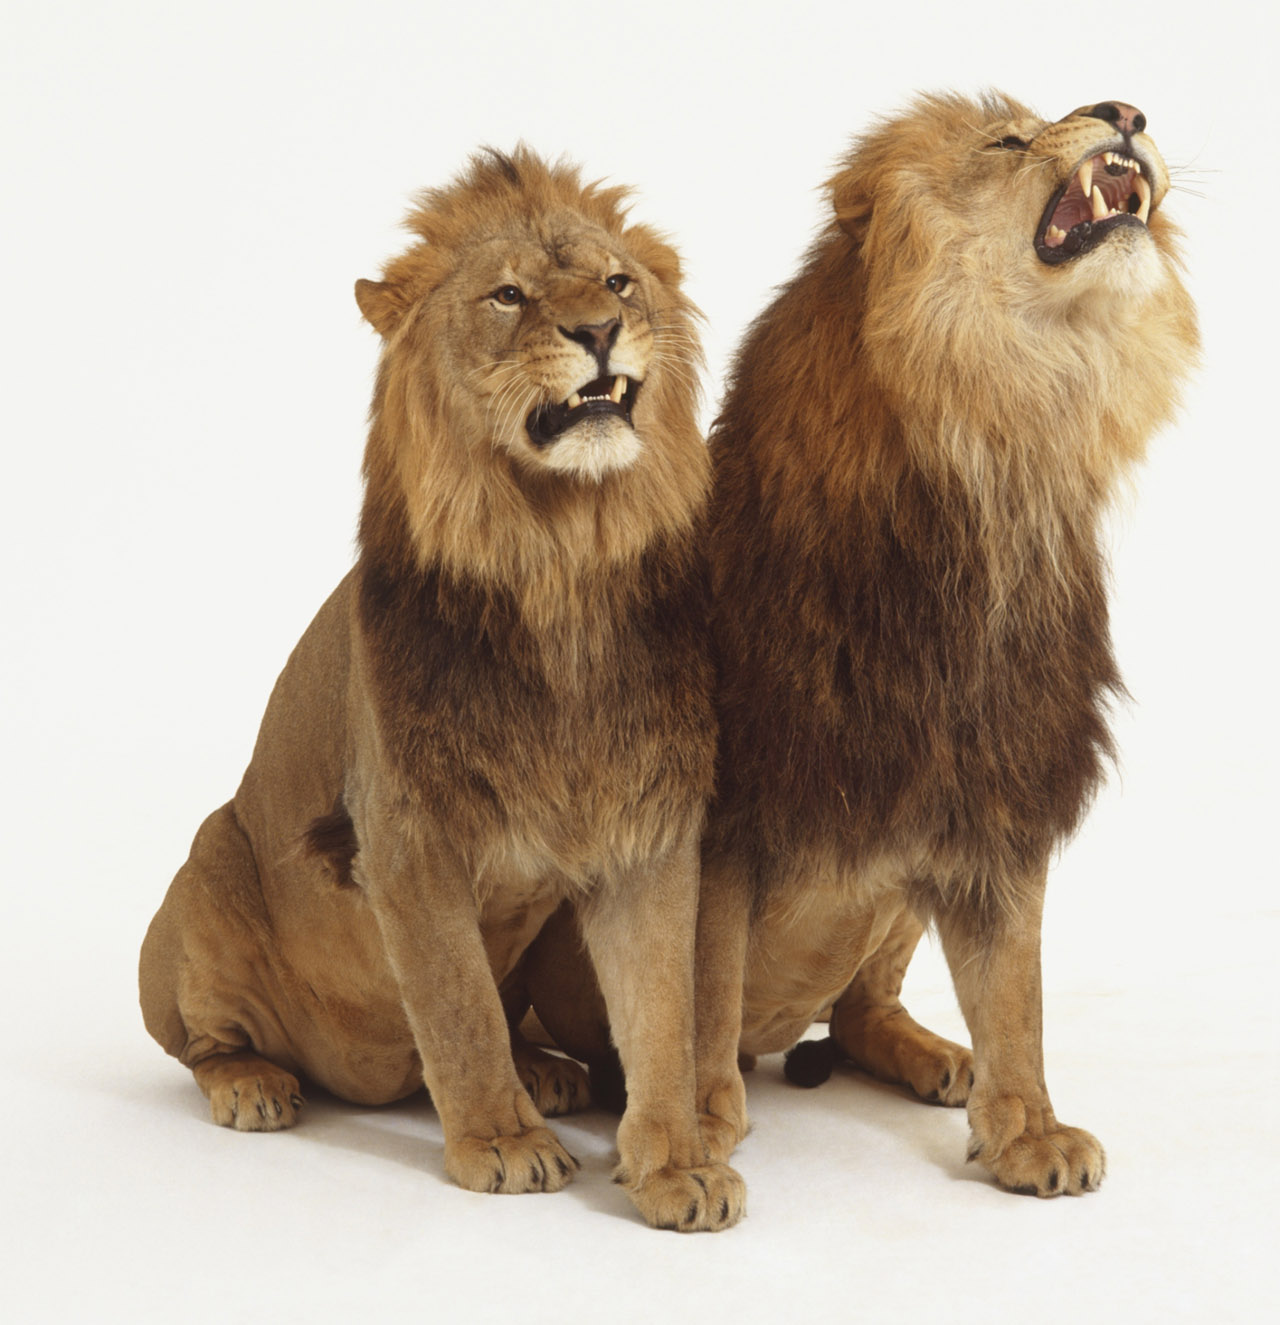
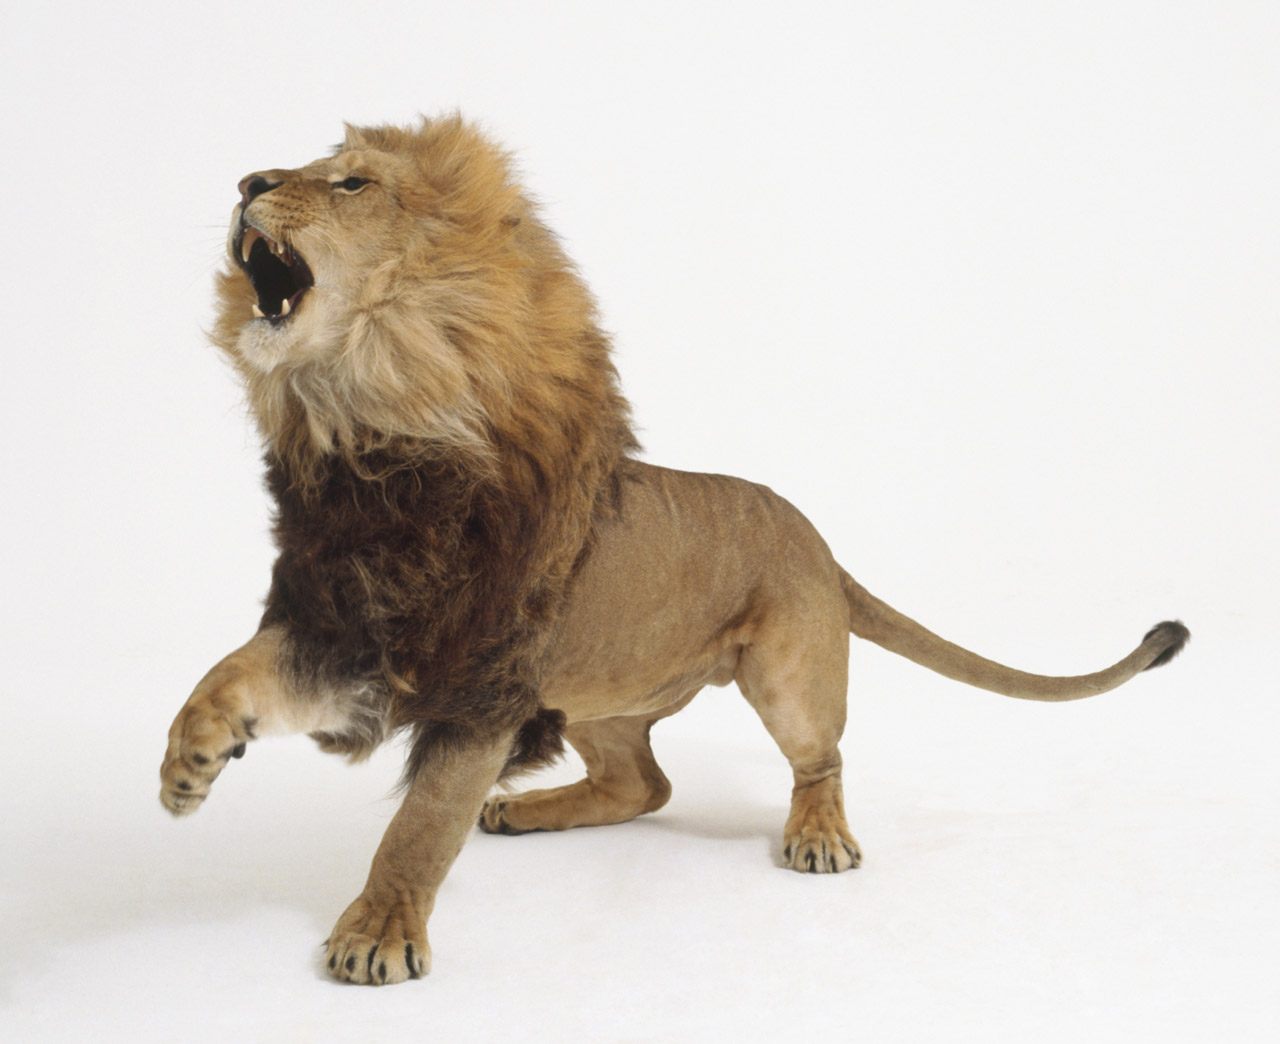
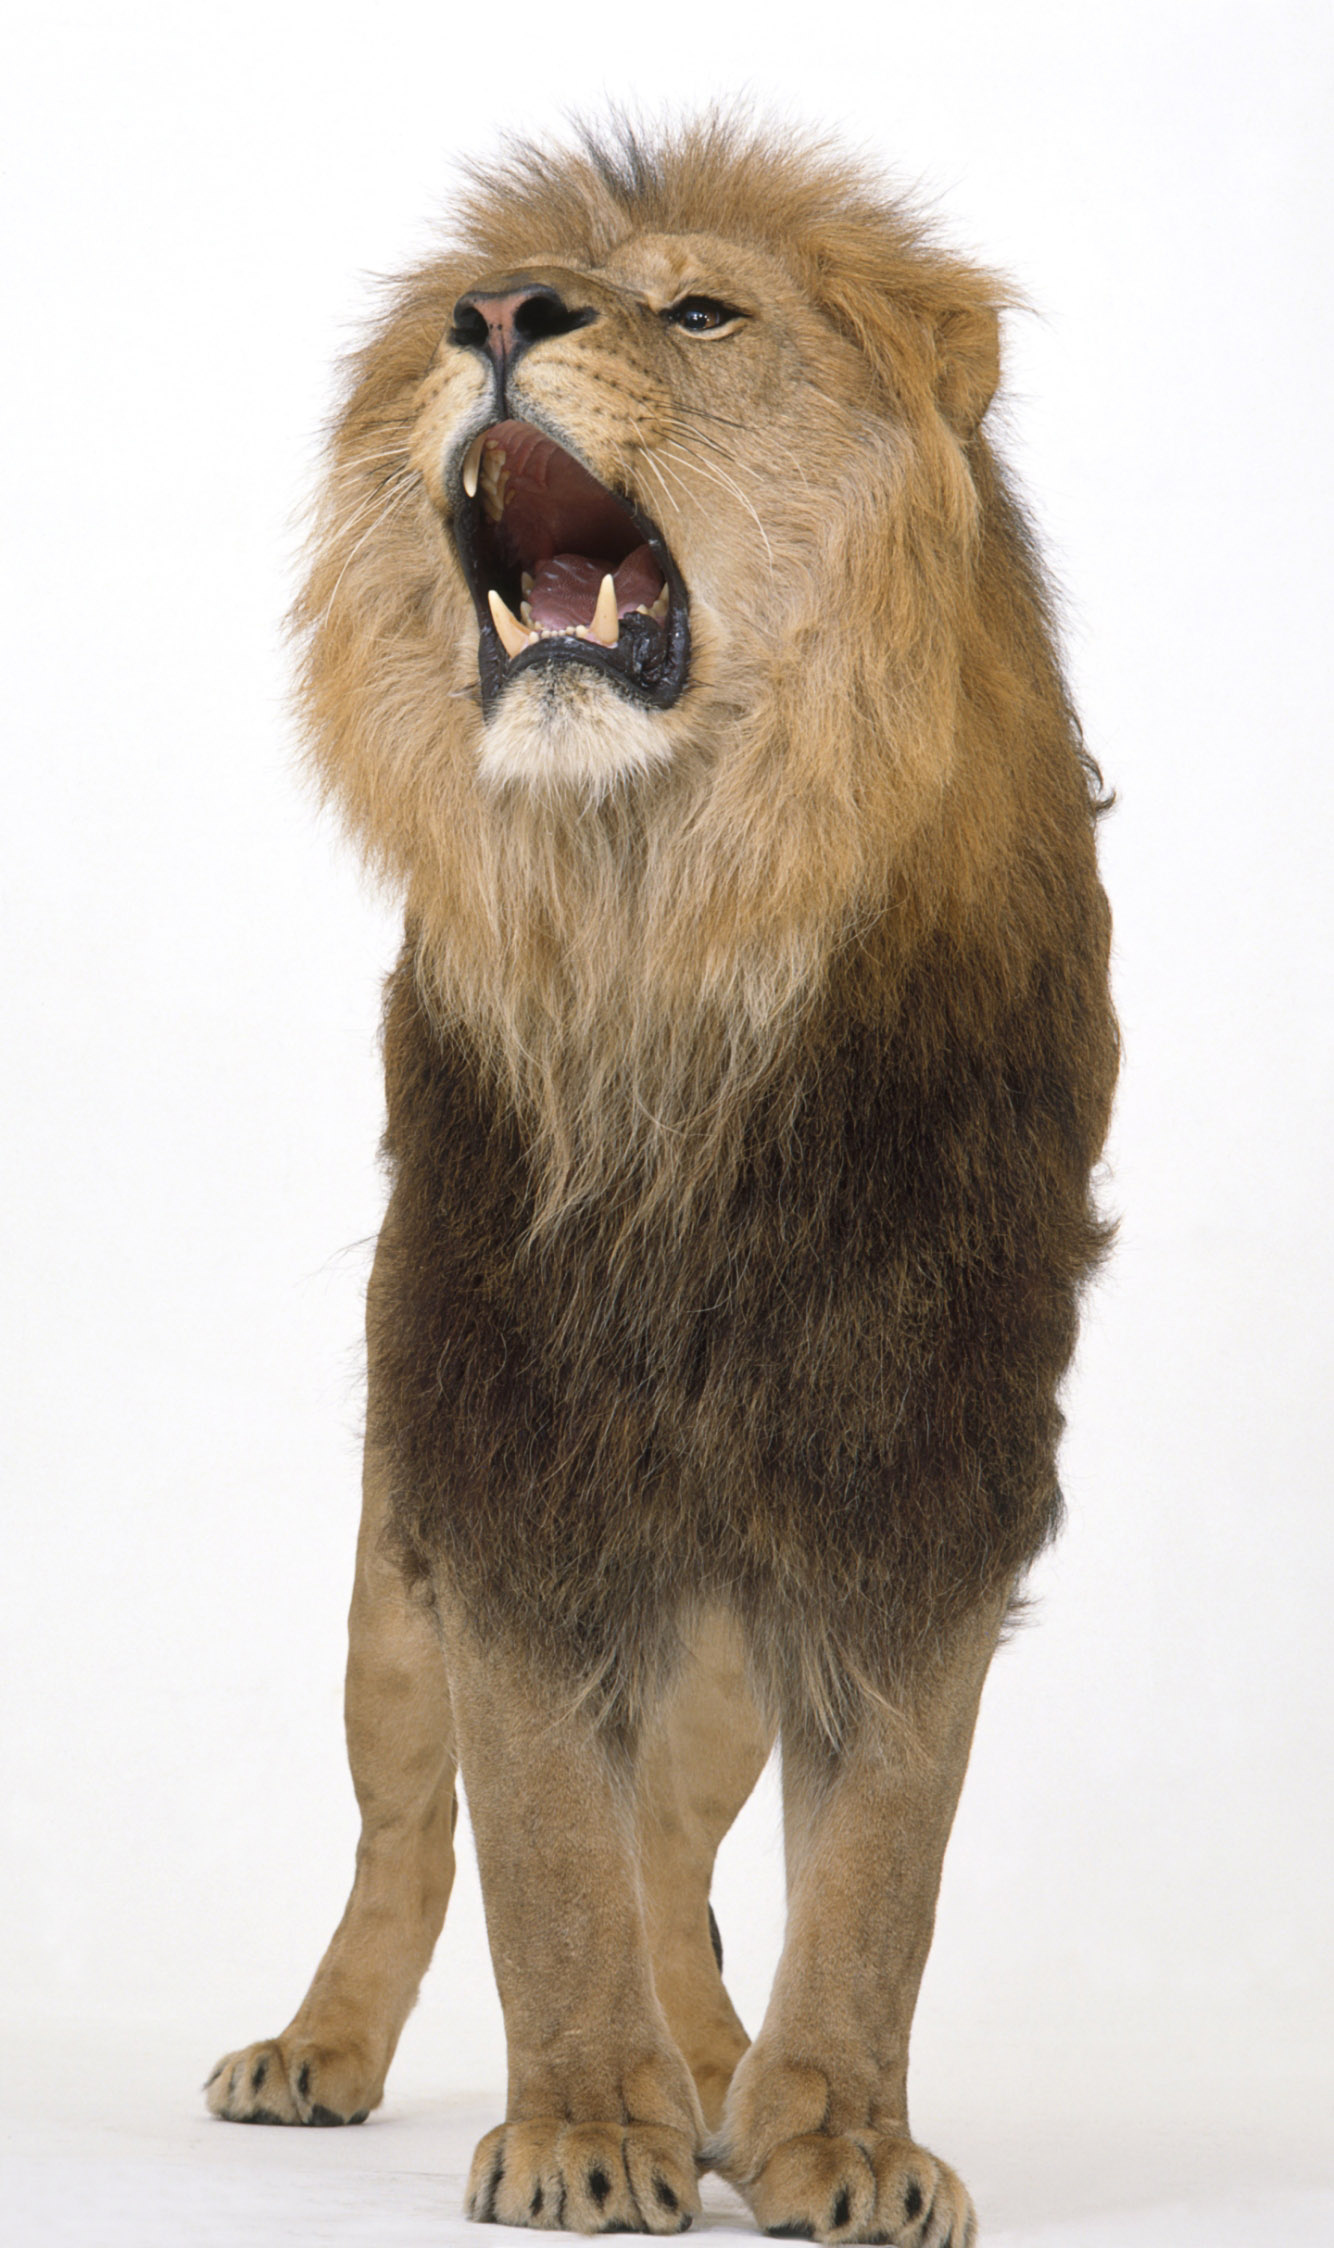
11、把我们的主角放进画面当中,并保留原素材的阴影部分,可减轻做阴影的步骤。
http://pic.16xx8.com/allimg/160112/21363I2W-20.jpg
http://pic.16xx8.com/allimg/160112/21363MA4-21.jpg
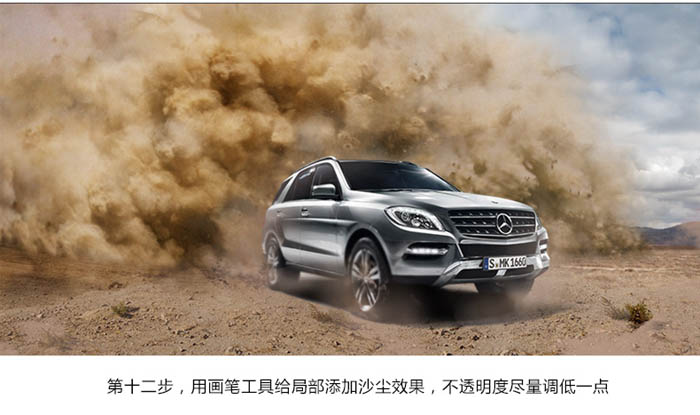
12、用画笔工具给局部添加沙尘效果,不透明度尽量调低一点。
http://pic.16xx8.com/allimg/160112/21363MS8-22.jpg
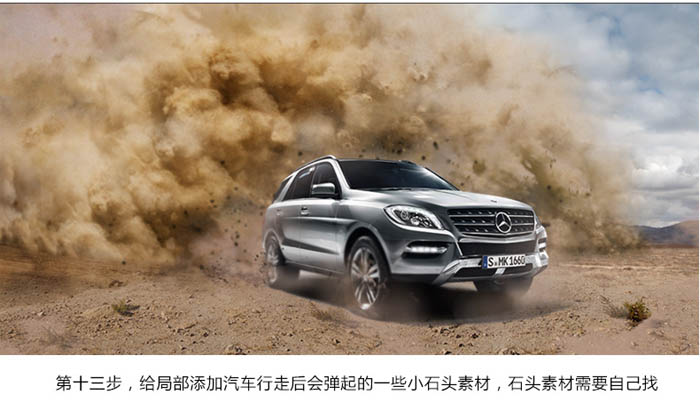
13、给局部添加汽车行走后会弹起的一些小石头素材,石头素材需要自己找。
http://pic.16xx8.com/allimg/160112/21363G912-23.jpg
14、给画面降低饱和度,并且用画笔给沙尘局部加深。
http://pic.16xx8.com/allimg/160112/21363I431-24.jpg
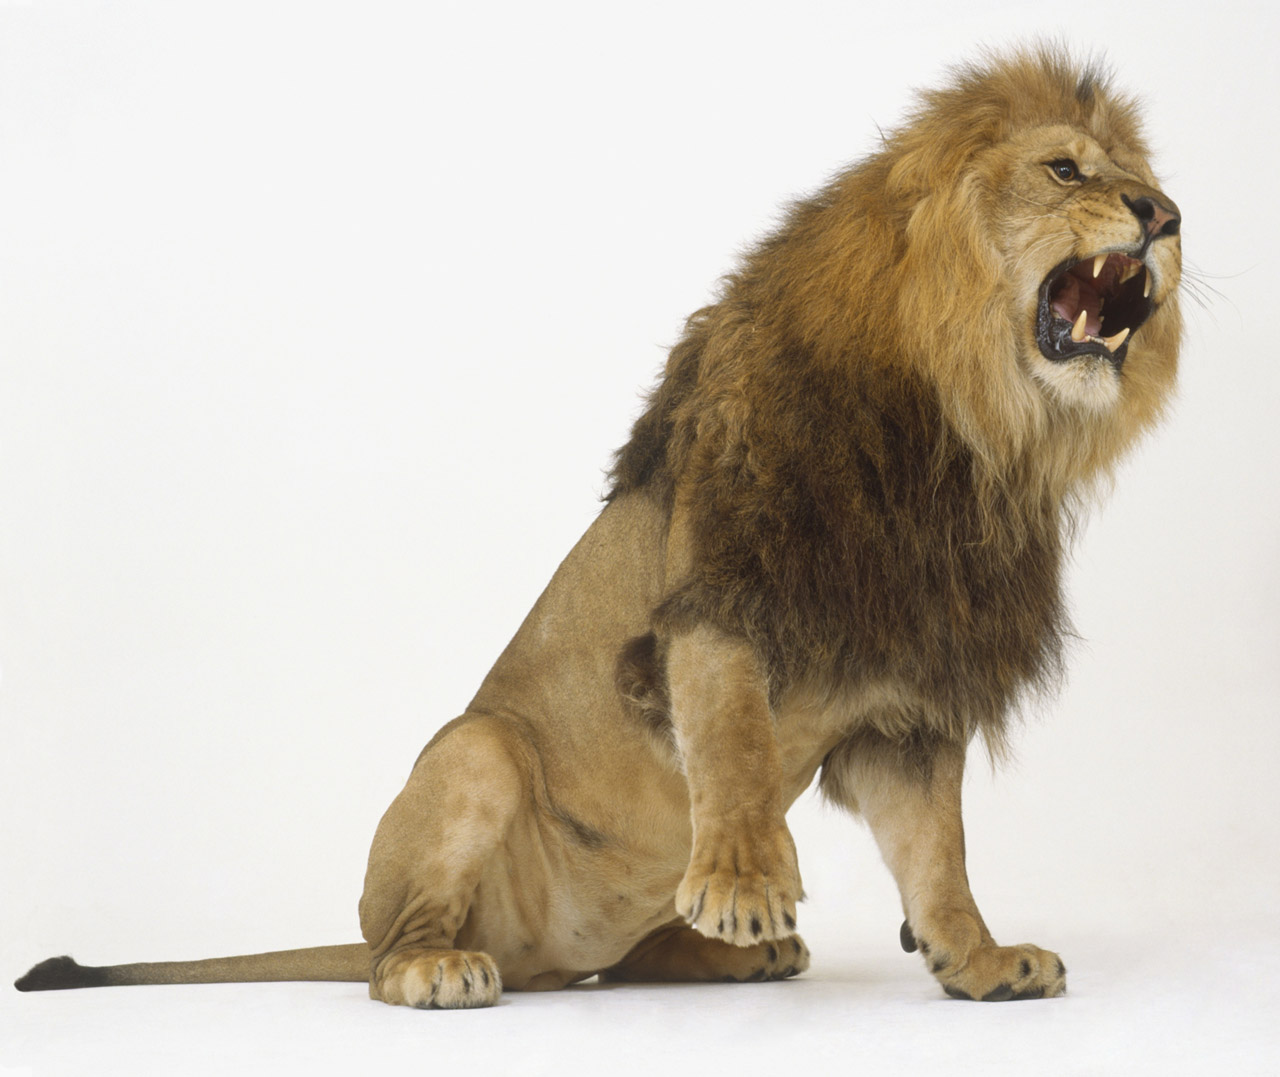
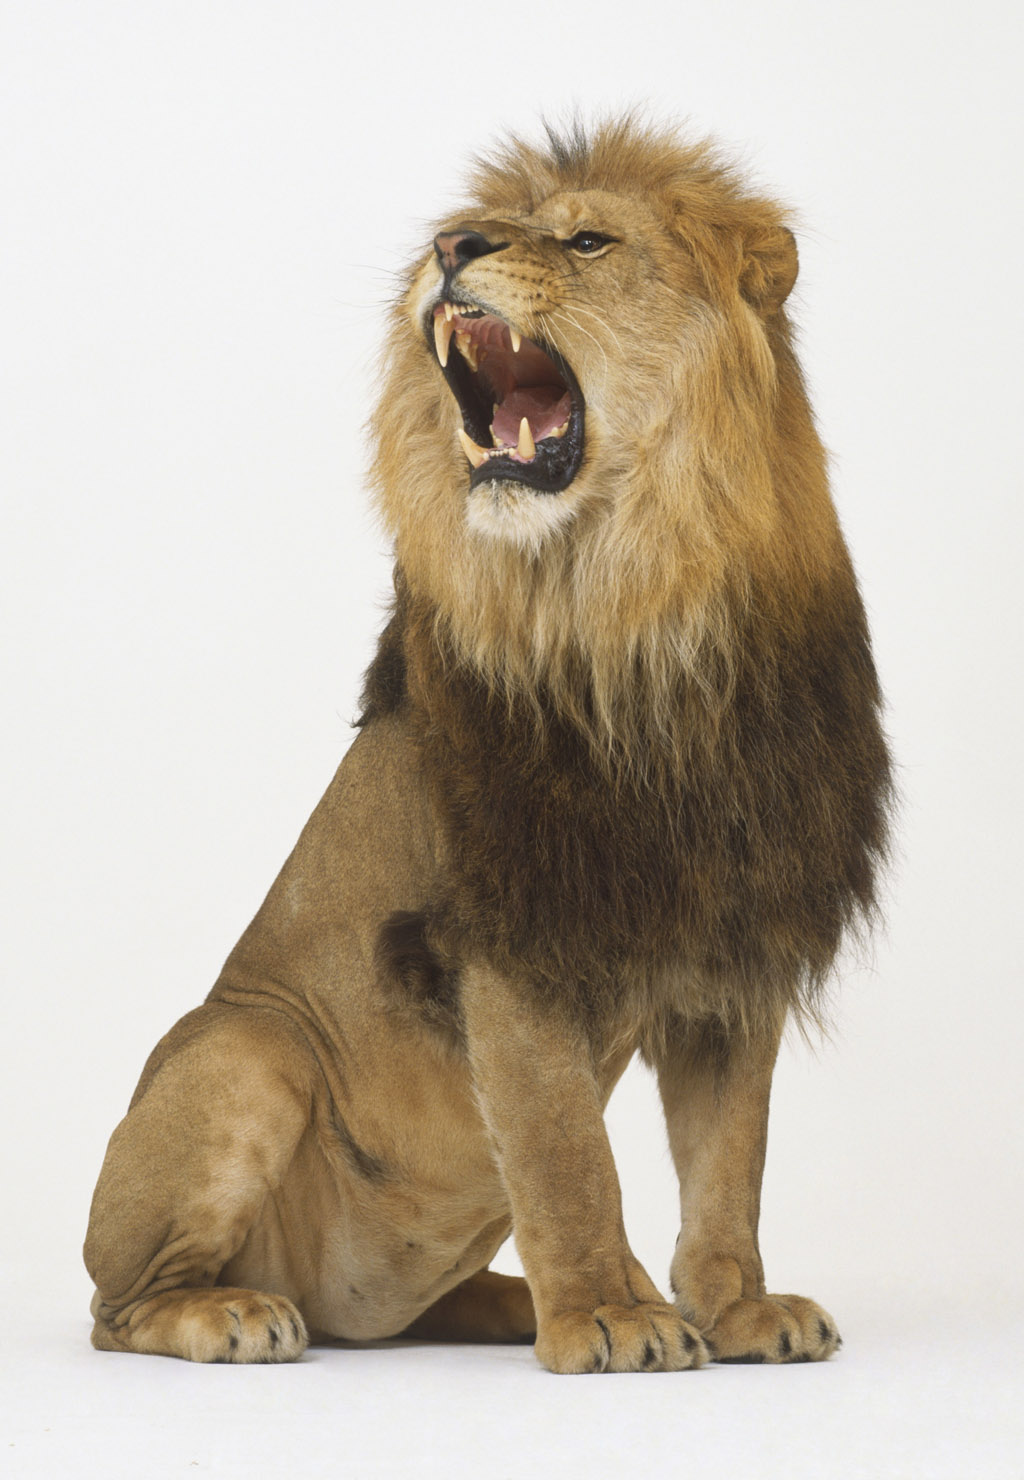
15、打开狮子素材,用蒙版擦出适合的位置和深浅。
http://pic.16xx8.com/allimg/160112/21363KR7-25.jpg
http://pic.16xx8.com/allimg/160112/21363K5U-26.jpg
http://pic.16xx8.com/allimg/160112/21363L937-27.jpg
http://pic.16xx8.com/allimg/160112/21363I926-28.jpg
http://pic.16xx8.com/allimg/160112/21363H117-29.jpg
http://pic.16xx8.com/allimg/160112/21363H3A-30.jpg
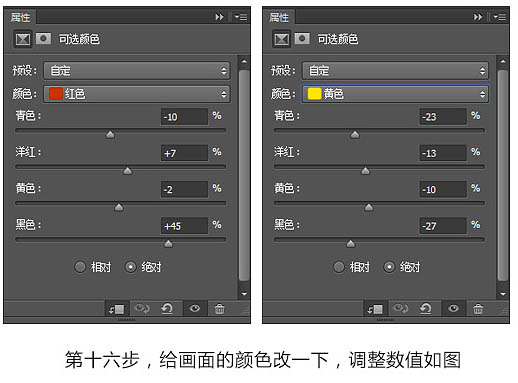
16、给画面的颜色改一下,调整数值如图。
http://pic.16xx8.com/allimg/160112/21363KE7-31.jpg
http://pic.16xx8.com/allimg/160112/21363M542-32.jpg
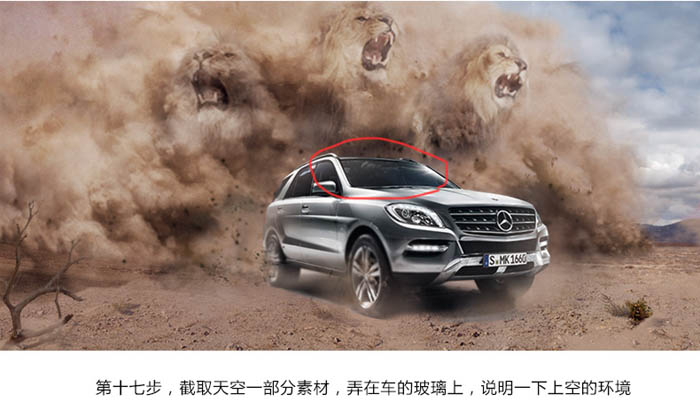
17、截取天空一部分素材,弄在车的玻璃上,说明一下上空的环境。
http://pic.16xx8.com/allimg/160112/21363L561-33.jpg
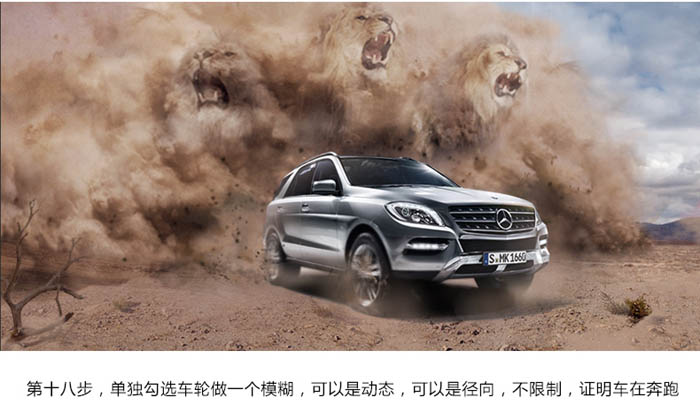
18、单独勾选车轮做一个模糊,可以是动感,可以是径向,不限制,证明车在奔跑。
http://pic.16xx8.com/allimg/160112/21363H4G-34.jpg
19、以上全部画面合并出一个新的图层,然后径向模糊,擦出中间部分。
http://pic.16xx8.com/allimg/160112/21363KB7-35.jpg
20、再用调色图层给画面做出色的对比,具体参数就不截图出来了。
http://pic.16xx8.com/allimg/160112/21363J107-36.jpg
21、做一个光晕效果,添加光源的强度。
http://pic.16xx8.com/allimg/160112/21363J945-37.jpg
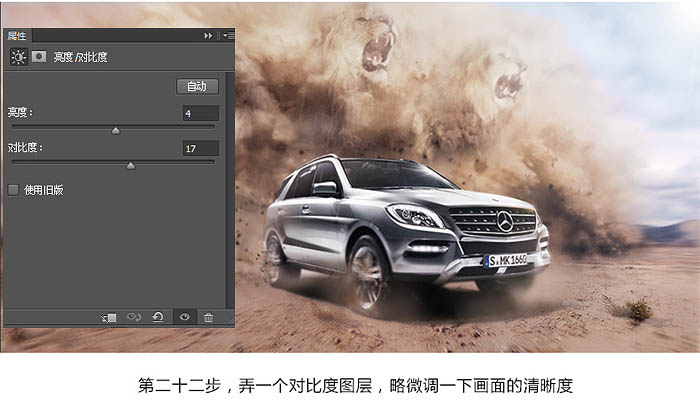
22、弄一个对比度图层,略微调一下画面的清晰度。
http://pic.16xx8.com/allimg/160112/21363L054-38.jpg
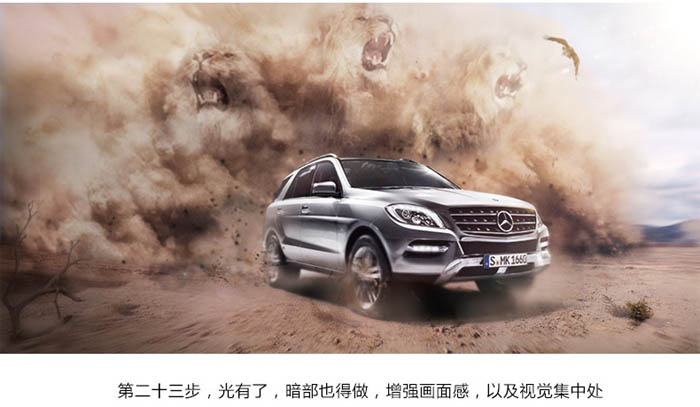
23、光有了,暗部也得做,增加画面感,以及视觉集中处。
http://pic.16xx8.com/allimg/160112/21363L3X-39.jpg
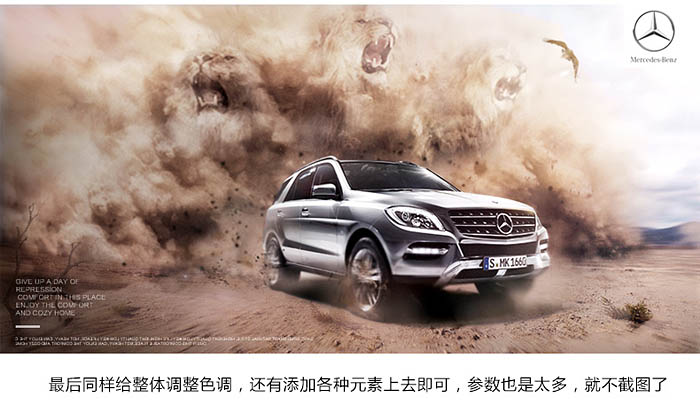
最后同样给整体调整色调,还有添加各种元素上去即可,参数也是太多,就不截图了。
http://pic.16xx8.com/allimg/160112/21363GI1-40.jpg
http://pic.16xx8.com/allimg/160112/21363KD7-41.jpg
http://pic.16xx8.com/allimg/160112/21363KL2-42.jpg
最终效果:
http://pic.16xx8.com/allimg/160112/21363K2S-0.jpg
对PS感兴趣的朋友,对设计上想精修的朋友,我们这边最新开设了一个在线课程,只要点开网页就可以学习,免费对外开放。如果想要学习请先加入我们的qq群336154289,或者加入QQ 85764188进群之后注册好我们的官网可以领取一份学习资料
![]() 喜欢
喜欢
0
![]() 赠金笔
赠金笔